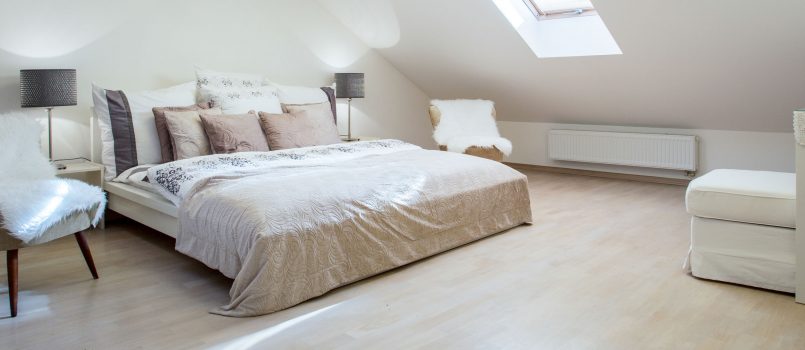
Depending on the type of loft or garage conversion, the loft conversion process could take a few weeks to a couple of months.
However, whatever the size of your project, here is a simple guide for the loft conversion process.
Step 1:
Firstly, you need to decide what the unused space will be used for. Many of our customers already know what they want before they talk to us. On the other hand, some are looking for some inspiration and ideas.
Some of the most common uses are, for example;
- Additional bedroom
- Playroom
- Office or study
- Games room
- Bathroom
- Walk-in wardrobe
- Storage area
- Hobby workshop
- Gym
Most importantly, this is the time to consider any specific details you want in the finished project.
Step 2:
Secondly, it’s time to have it surveyed. You may already have a surveyor or had the space surveyed. However, we can carry this out using one of our recommended surveyors if not.
They will access the feasibility of the conversion. In addition, they will highlight any changes necessary to complete the conversion.
Step 3:
Once the survey has been completed and satisfied, it’s time to have the drawings produced. We can appoint an architect who will draw up the plans and work with you to realise your vision.
Finally, once the plans have been produced and approved, it’s time for the work to begin.
What’s included in the loft conversion process?
When you engage our services, we take care of everything.
We work with a range of local craftsmen, structural engineers, architects and tradesmen. As a result, each and every step of the conversion is looked after by an expert in their field.
Your conversion will include all work necessary, including but not limited to;
- Windows and doors
- Staircases & Carpentry
- Lighting & Heating
- Plumbing & Electrical
- Flooring and carpets
- Plastering and decorating
- TV Points
Most importantly, at the end of the project, all that’s left to do is move in.


